FlaskからPostgreSQLを使用
今回は、Flaskを使ってPostgreSQLにアクセスしてみます。
はじめに
今回は、Flaskを使ってPostgreSQLからデータを検索してブラウザに表示します。
PostgreSQLはDockerコンテナとして導入し、以下のCOVID19の国別統計データ224件を投入して利用します。
https://www.worldometers.info/coronavirus/
検証環境は以下となります。
- PC:MacBook Pro (2020 Intel)
- OS:macOS Big Sur バージョン11.6
- Python:3.9.9
- Flask:2.0.2
- psycopg2-binary:2.9.3
- Docker:20.10.0
- PostgreSQL:13.3(Dockerコンテナ)
Flaskのインストールから知りたい方は、以下を読んでみてください。
準備
準備としてDocker上にPostgreSQLの環境を構築します。
まずはコンテナ(接続ポート15432)を作成します。
% docker run -d --name postgres13 -e POSTGRES_PASSWORD=postgres -p 15432:5432 postgres:13.3
% docker container ls
CONTAINER ID   IMAGE           COMMAND                  CREATED          STATUS          PORTS                     NAMES
8a3b2eb83ade   postgres:13.3   "docker-entrypoint.s…"   27 seconds ago   Up 26 seconds   0.0.0.0:15432->5432/tcp   postgres13
次に、ユーザー(ロール)とデータベースを作成し接続確認をします。
% psql -h localhost -p 15432 -U postgres
Password for user postgres:
psql (14.1, server 13.3 (Debian 13.3-1.pgdg100+1))
Type "help" for help.

postgres=# CREATE ROLE keiji LOGIN PASSWORD 'keiji';
CREATE ROLE
postgres=# CREATE DATABASE takamoto OWNER = keiji TEMPLATE = template0 ENCODING = 'UTF8' LC_COLLATE = 'C' LC_CTYPE = 'C';
CREATE DATABASE
postgres=# exit

% psql -h localhost -p 15432 -U keiji -d takamoto
Password for user keiji:
psql (14.1, server 13.3 (Debian 13.3-1.pgdg100+1))
Type "help" for help.

takamoto=>
次に、以下のSQLを使ってテスト用のテーブル(covid19)を作成します。
create table covid19
(No numeric default 0,
Country varchar(100),
TCases numeric default 0,
NCases numeric default 0,
TDeaths numeric default 0,
NDeaths numeric default 0,
TRecovered numeric default 0,
NewRecovered numeric default 0,
ACases numeric default 0,
Critical numeric default 0,
TC1Mpop numeric default 0,
D1Mpop numeric default 0,
TTests numeric default 0,
T1Mpop numeric default 0,
Population numeric default 0,
Continent varchar(100),
CaseeveryXppl numeric default 0,
DeatheveryXppl numeric default 0,
TesteveryX numeric default 0 ,
NewCases1Mpop decimal default 0,
NewDeaths1Mpop decimal default 0,
ActiveCases1Mpop decimal default 0);
次に、以下のCSVファイル(COVID19の国別統計データ:224件)をダウンロードします。
https://takamoto.biz/downloads/stat.csv
テーブルを作成し、CSVファイルをインポートします。
takamoto=> create table covid19
(No numeric default 0,
Country varchar(100),
TCases numeric default 0,
NCases numeric default 0,
TDeaths numeric default 0,
NDeaths numeric default 0,
TRecovered numeric default 0,
NewRecovered numeric default 0,
ACases numeric default 0,
Critical numeric default 0,
TC1Mpop numeric default 0,
D1Mpop numeric default 0,
TTests numeric default 0,
T1Mpop numeric default 0,
Population numeric default 0,
Continent varchar(100),
CaseeveryXppl numeric default 0,
DeatheveryXppl numeric default 0,
TesteveryX numeric default 0 ,
NewCases1Mpop decimal default 0,
NewDeaths1Mpop decimal default 0,
ActiveCases1Mpop decimal default 0);
CREATE TABLE
takamoto=> \copy covid19 from './stat.csv' with csv;
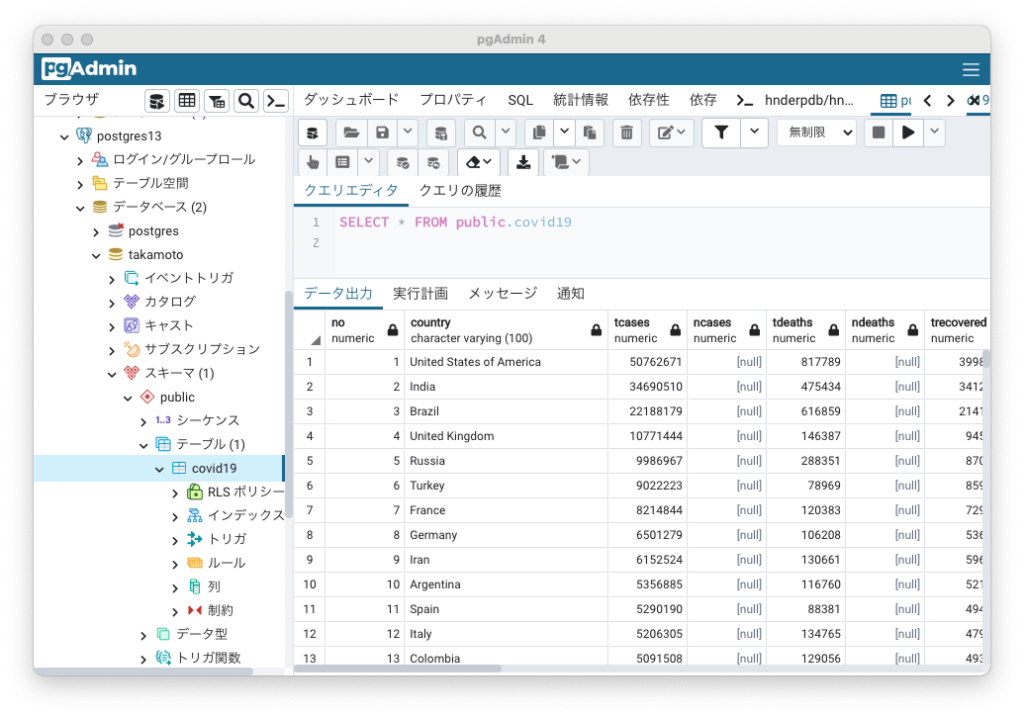
COPY 224pgAdminでインポートされたデータを確認すると、以下のようになります。
最後に、仮想環境(flask)上でPostgreSQL接続モジュール(psycopg2-binary)をインストールします。(Flaskの導入は、先ほどの記事をご確認ください。)
(flask) % pip install psycopg2-binary
Collecting psycopg2-binary
  Downloading psycopg2_binary-2.9.3-cp39-cp39-macosx_10_14_x86_64.macosx_10_9_intel.macosx_10_9_x86_64.macosx_10_10_intel.macosx_10_10_x86_64.whl (2.2 MB)
     |████████████████████████████████| 2.2 MB 1.5 MB/s
Installing collected packages: psycopg2-binary
Successfully installed psycopg2-binary-2.9.3
コード作成・検証
今回のファイル構成は以下となります。
% tree
.
├── pgsql.py
└── templates
    └── pgsql.html
作成したPythonコードは以下となります。
from flask import Flask, render_template
import psycopg2
import psycopg2.extras

app = Flask(__name__)

@app.route('/')
def pgsql():

    # Create connection.
    conn = psycopg2.connect(
        host='localhost',
        port=15432,
        database='takamoto',
        user='keiji',
        password='keiji',
    )

    # Create cursor and fetch and close.
    cur = conn.cursor(cursor_factory=psycopg2.extras.DictCursor)
    cur.execute('select * from covid19')
    ds = cur.fetchall()
    cur.close()

    # Close connection.
    conn.close()

    #return dataset
    return render_template('pgsql.html', title='Flask pgsql', dataset=ds)

app.run(port=8888 ,debug=True)
先ほど作成したデータベースに接続して、covid19テーブルから国名(country)と総感染者数(tcases)を取得し、テンプレートに値を引き渡して表示します。
連携するHTMLファイルは以下となります。
<!doctype html>
<html>
<head>
<title>{{ title }}</title>
</head>
<body>
<h3>COVID19一覧</h3>
<ul>
{% for rec in dataset %}
<li>{{ rec.country }} : {{ rec.tcases }}</li>
{% endfor %}
</ul>
</body>
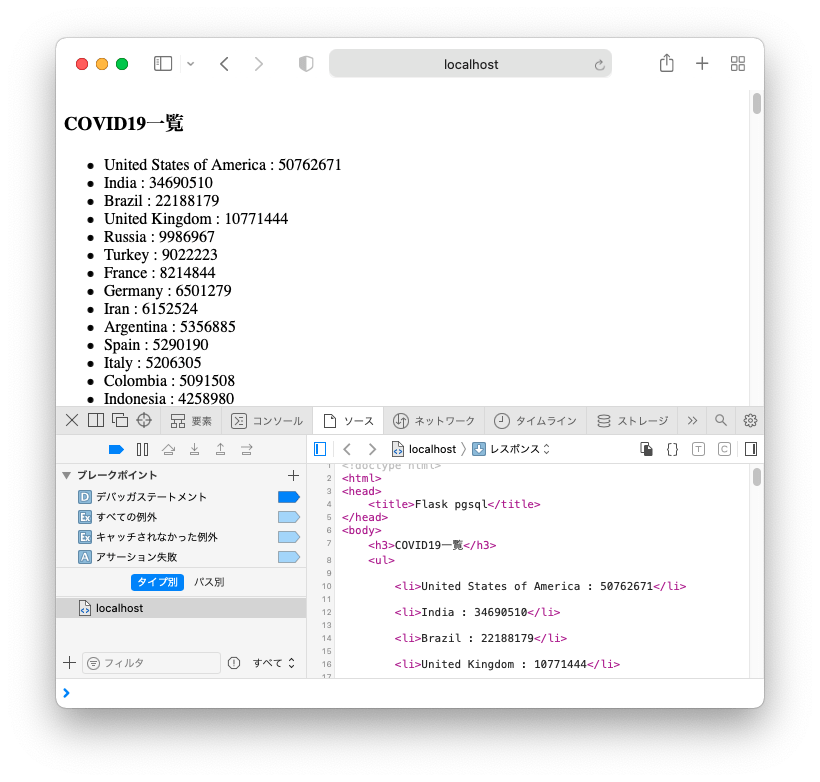
</html>ブラウザからの表示結果(http://localhost:8888)は以下となります。
まとめ
今回は、FlaskからPostgreSQLへ接続し表示するプログラムを作成しました。
次回は、FlaskにてJSON返却を行います。


コメント